

 English
  Español
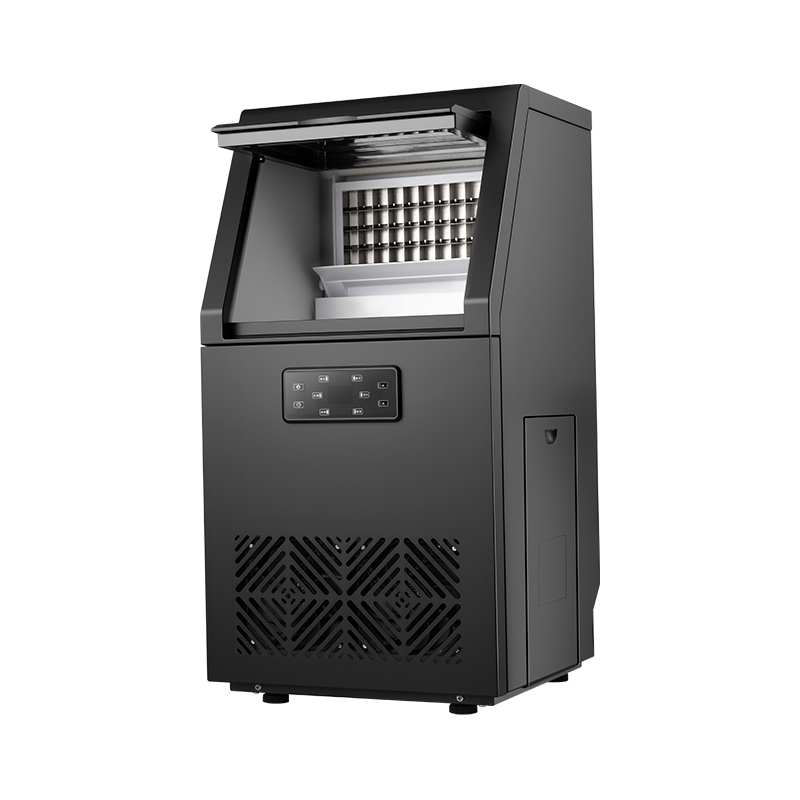
 The SMK-24F Full-Cube Undercounter Ice Maker is a fully automated ice-making unit meticulously desig...
+ VIEW MORE
 Industry News
HOME / News & Share / Industry News / How to Make Perfect Clear Ice Cubes: Directional Freezing, Step by Step
How to Make Perfect Clear Ice Cubes: Directional Freezing, Step by Step
Sharmoon appreciates your support and sincerely looks forward to cooperating with you for mutual development!
Content
- 1 Why Ice Turns Cloudy in the First Place
- 2 Directional Freezing: The Variable That Decides Clarity
- 3 Home Methods Compared
- 4 The Cooler Method, Step by Step
- 5 Water, Boiling, and Other Half-Truths
- 6 Cutting, Storing, and Serving Clear Ice
- 7 Scaling Up: How Commercial Machines Make Clear Ice
- 8 Matching the Machine to the Counter
- 9 What to Do Next
A two-inch clear cube in a rocks glass looks like a chip of polished glass. A tray cube pulled from the same freezer looks like a snowball with a shell, and it cracks into shards the moment the whiskey hits it. The gap between the two is not the water brand, the age of the tray, or how many times the water was boiled.
Make the water freeze from one face only, slowly, and let the dissolved air and minerals collect in the last part of the block to freeze, then trim that part away. Everything below is technique built around that single idea, whether you use an insulated cooler on a freezer shelf or a machine that repeats the same cycle all day.
Why Ice Turns Cloudy in the First Place
Room-temperature water holds dissolved gases such as oxygen, nitrogen and carbon dioxide, plus calcium and magnesium ions if the supply is hard. Ice crystals reject nearly all of it. As the lattice grows, those substances are pushed ahead of the freezing front into the water that is still liquid.
In an ordinary tray, freezing starts on all six surfaces at once. The shell closes inward, the remaining liquid is squeezed into the middle, and the last pocket freezes with nowhere to send its gas. The result is a white core sitting exactly in the center of the cube, which is simply concentrate that got trapped.
Two practical conclusions follow from that mechanism:
- Speed matters, but direction matters more. A slow freeze from every side still traps a core, just a smaller one.
- The position of the cloud is a diagnostic. A cloudy band at the bottom of a block means the block froze top-down and the process worked; a cloud in the middle means it did not.
Directional Freezing: The Variable That Decides Clarity
Directional freezing means insulating the sides and base so heat can escape through a single face, usually the top. The surface layer freezes first and forms a clear lid of ice, and the freezing front walks downward, sweeping gas and minerals ahead of it like a plow.
After 18 to 24 hours in a domestic freezer held around -18 °C (0 °F), you get a solid clear slab on top and a slushy, cloudy layer at the bottom. The slush is the waste. Depending on the container, 60 to 75 percent of the original volume survives as usable clear ice.
Three settings decide whether the method works:
- Side insulation of at least 2 cm of foam, or a cooler wall. Thin plastic trays fail this test and always will.
- A mid-range freezer setting, roughly -15 °C to -20 °C. A blast freezer at -30 °C freezes so quickly that the front becomes uneven and pockets of air get locked in anyway.
- A water depth of 8 to 12 cm. That freezes in a workable window and yields cubes tall enough for a rocks glass.
Home Methods Compared
The home routes differ far less in the water they start with than in how they control the freezing front. The comparison below reflects what each approach realistically delivers.
| Method | Typical freeze time | Clarity result | What you need |
|---|---|---|---|
| Open cooler, lid off | 18 to 24 hours | Clear slab, 60 to 75 percent yield | Small cooler, freezer shelf, saw |
| Boiled water in a standard tray | 8 to 12 hours | Cloudy core remains | Pot, tray, patience |
| Directional insulated mold | 20 to 24 hours | Clear cubes in fixed shapes | Mold, freezer space |
| Commercial cube ice maker | 20 to 40 minutes per cycle | Clear full cubes, continuous output | Machine, water line, drain |
The Cooler Method, Step by Step
This is the cheapest route to bar-grade ice and the one most bartenders use at home. A small cooler with the lid removed does the whole job, because the foam walls insulate the sides while the open top lets heat leave in one direction.
- Pick a cooler roughly 1 to 2 L in capacity, with walls at least 2 cm thick. Tall and narrow beats wide and shallow.
- Fill it to within 3 cm of the rim and leave the lid off. Set it level on a freezer shelf, not against the back wall.
- Leave it undisturbed for 18 to 24 hours. Check at the 18-hour mark: the top 5 to 7 cm should be solid, with slush underneath.
- Tip out the block and let it temper on a cutting board for 5 to 10 minutes. Ice straight from the freezer shatters instead of cutting.
- Score a line with a serrated knife, then tap the spine with a wooden handle until the block splits along the score. Repeat into 5 cm cubes.
- Throw away the cloudy base. That portion is the air and mineral concentrate you spent a day collecting.
Starting water matters less than most guides suggest. Water that has been boiled and cooled holds slightly less dissolved gas, which shaves a little haze off the result, but the cooler and the freezer temperature do the real work.
Water, Boiling, and Other Half-Truths
Boiling twice is the most repeated clear-ice advice online, and it is only partly true. Heating drives dissolved gas out of the water while it is hot, but as the water cools in an open container it reabsorbs gas from the air, and pouring adds more. The net gain is small, and it never fixes a tray that freezes from all sides.
A few related claims are worth sorting out before you spend money or time on them:
- Distilled or reverse-osmosis water reduces mineral haze because fewer ions are available to be concentrated. It does nothing about dissolved air.
- Salt, sugar or vinegar in the freezing water lowers the freezing point, produces softer, slushier ice, and can carry flavor into the drink.
- A carbon filter is worth the cost if cubes will sit in a glass for twenty minutes, since chlorine and sediment flavors are trapped in the ice and released as it melts.
- Warm water straight from the tap does not freeze faster in a useful way here; it only warms the freezer and slows the front.
Order of importance, in practice: freezing direction first, water temperature second, filtration third, boiling a distant fourth.
Cutting, Storing, and Serving Clear Ice
A clear block is dense and brittle, so cutting technique matters. Temper the block for 5 to 10 minutes so the outer surface relaxes, score the cut line with a serrated blade, then tap the spine rather than sawing. A clean score and a firm tap gives a straight edge; sawing gives chips and fracture lines that show up in the glass.
Storage deserves the same attention. Keep finished cubes in a sealed container at the back of the freezer, away from open food, because ice absorbs odors within a day or two. Do not stack cubes in a loose bag; frost forms on the surfaces and undoes the clarity you just worked for.
There is a serving benefit beyond appearance. Because clear ice contains far less trapped air and has a smoother surface, it melts more slowly than cloudy ice of the same size, so a drink is diluted more gradually and holds its intended strength longer. That relationship between structure, melt rate and waste is covered in more detail in this look at how slower melting ice reduces waste across a service period.
Scaling Up: How Commercial Machines Make Clear Ice
A cube ice maker does the same directional trick continuously. Water is sprayed or circulated over a chilled evaporator surface, and freezing happens in thin layers while moving water carries rejected gas and minerals away from the growing crystal. When the cube reaches full size, the cycle reverses briefly to release it. Each harvest takes roughly 20 to 40 minutes, and the ice comes out clear without anyone trimming a block.
The labor math is what pushes most venues toward a machine. A single freezer running the cooler method produces about 2 to 3 kg of clear ice per day and requires a person to fill, wait, cut and clean up. A venue pouring 100 drinks a night needs that volume before the second hour of service. Cixi City Sharmoon Electric Co., Ltd., a manufacturer in Cixi, Zhejiang founded in 2003 with more than 260 employees, builds cube ice makers from undercounter units up to high-capacity models and supplies them as OEM/ODM production for brands and importers, alongside its earlier water filtration and small appliance lines.
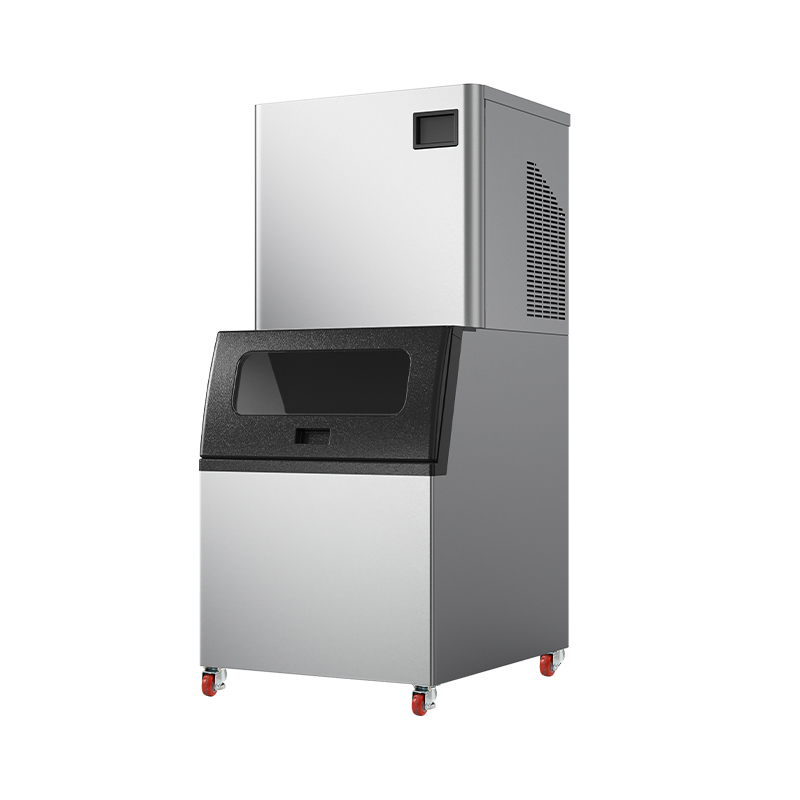
Two models illustrate the range. The smart integrated commercial unit is aimed at operators who want output and controls in one cabinet.
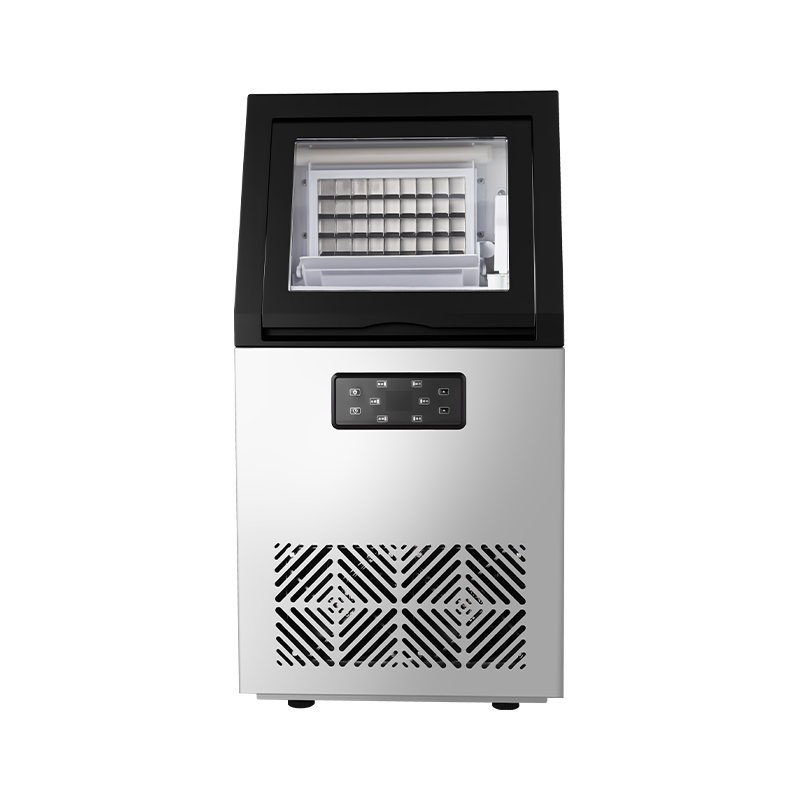 SMK-32F Smart Integrated Commercial Ice MakerThe SMK-32F Smart Integrated Commercial Ice Maker is a highly efficient ice-making device specifically designed for the catering and commercial sectors. It seamlessly ...View Product →
For sites that grow in stages, the modular model allows additional capacity to be added later without replacing the original machine.
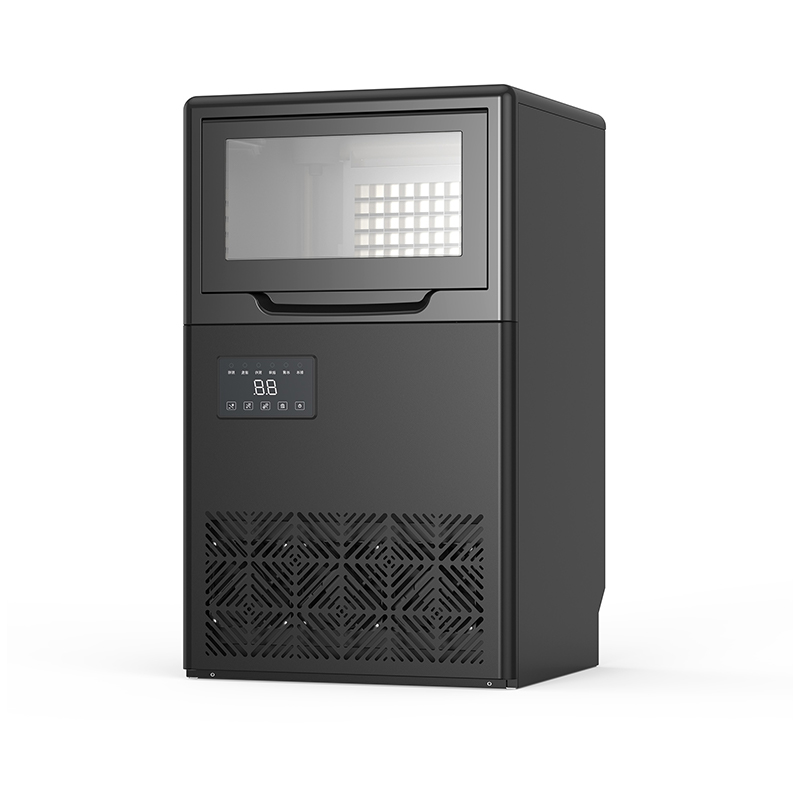 SMK-78F Modular Cube Ice MakerThe SMK-78F Modular Cube Ice Maker is a fully automated device engineered specifically for high-efficiency ice production and modular expandability. It seamlessly inte...View Product →
Matching the Machine to the Counter
Clear ice at volume is a specification problem more than a taste problem. Work through the constraints before comparing prices, because the wrong format creates daily frustration in a small bar.
- Available space: an undercounter unit slides beneath a back bar or service counter, while a built-in unit is designed to sit inside cabinetry.
- Daily demand: estimate peak-night consumption in kilograms, then add a third as a buffer for melting and waste.
- Cooling and ventilation: air-cooled units need clearance at the front or rear and struggle in hot, enclosed rooms; water-cooled or split configurations handle tight spaces better.
- Drainage and power: a floor drain or gravity drain and a dedicated circuit are usually non-negotiable.
- Ice format: full-cube output is what produces the dense, clear cube guests notice, so confirm the cube style rather than assuming all cube machines are equal.
An undercounter full-cube machine is the common starting point for cafés, cocktail bars and hotel pantry stations where space is the binding constraint.
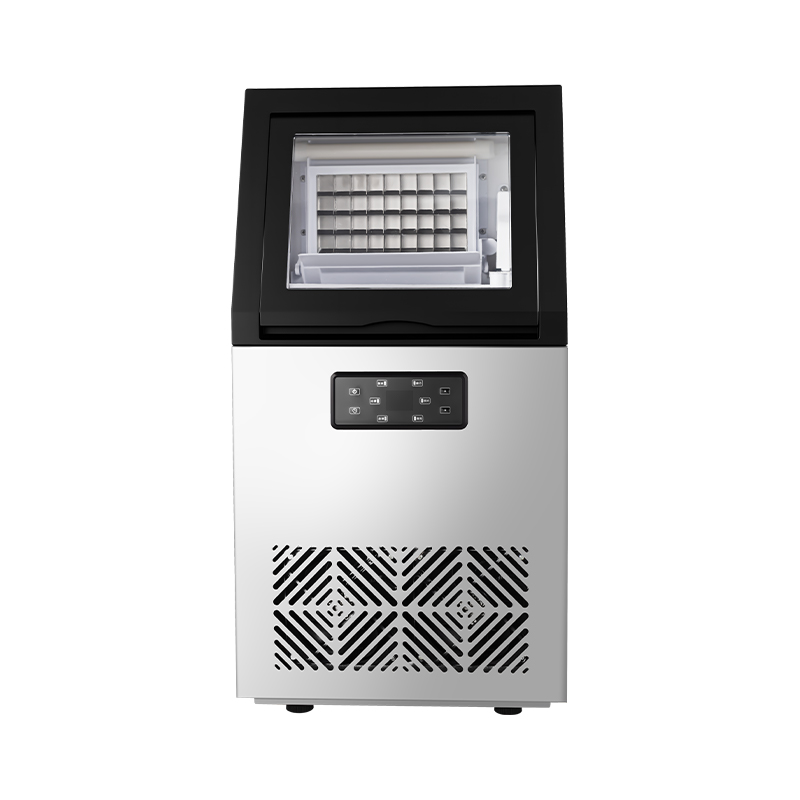 SMK-24F Full-Cube Undercounter Ice MakerThe SMK-24F Full-Cube Undercounter Ice Maker is a fully automated ice-making unit meticulously designed for commercial kitchens and beverage establishments. By ingenio...View Product →
Where capacity is the binding constraint instead, split-type machines separate the condensing section from the ice-making head, freeing the counter area for the bin and allowing far higher daily output.
What to Do Next
If you want clear cubes tonight, fill a small cooler to within 3 cm of the rim, leave the lid off, and wait until tomorrow evening. Trim the cloudy base, temper the block, and cut it with a serrated knife. The result will beat anything a tray produces, and it costs nothing but freezer space.
If you are producing ice for paying guests, weigh the labor honestly. Two or three kilograms a day from a freezer shelf is a hobby; fifty kilograms a night is an equipment decision. Match the format to the counter, confirm the cube style, and check service and spare-part support before signing.
Questions about capacity, cube format or OEM and ODM production can be raised directly through our sales and quotation team.
Related Product
-
-
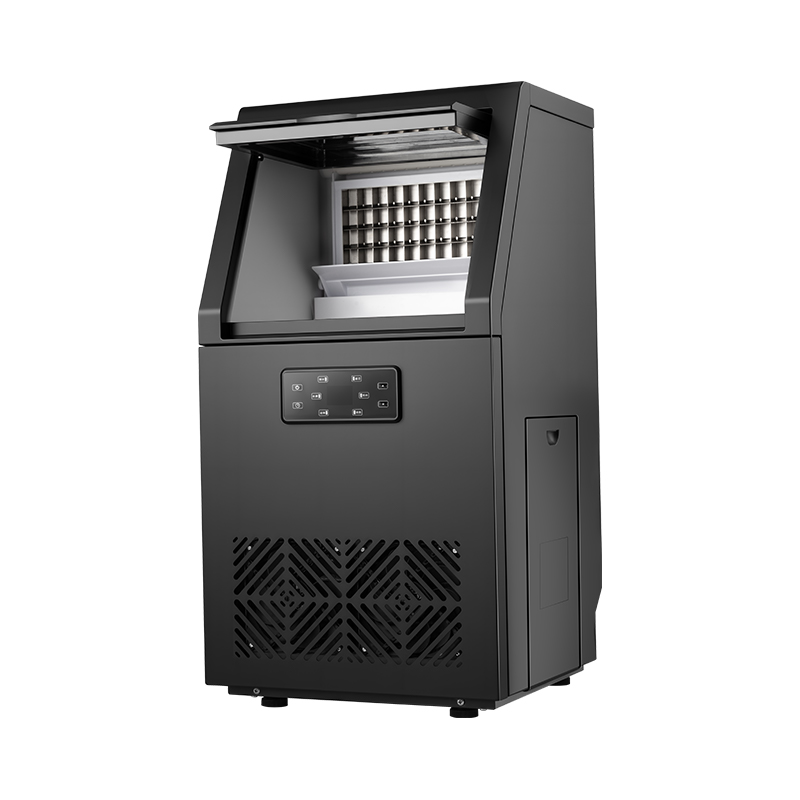
The SMK-32F Smart Integrated Commercial Ice Maker is a highly efficient ice-making device specifical...
+ VIEW MORE -
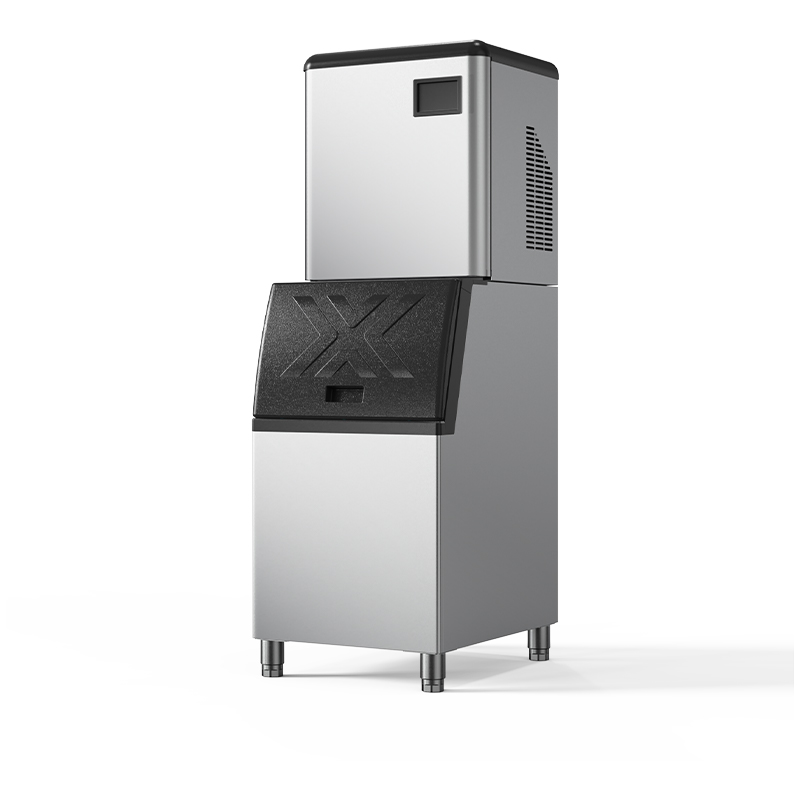
The SMK-260 FRO High-Yield Cube Ice Maker is a split-system ice machine specifically engineered for ...
+ VIEW MORE -
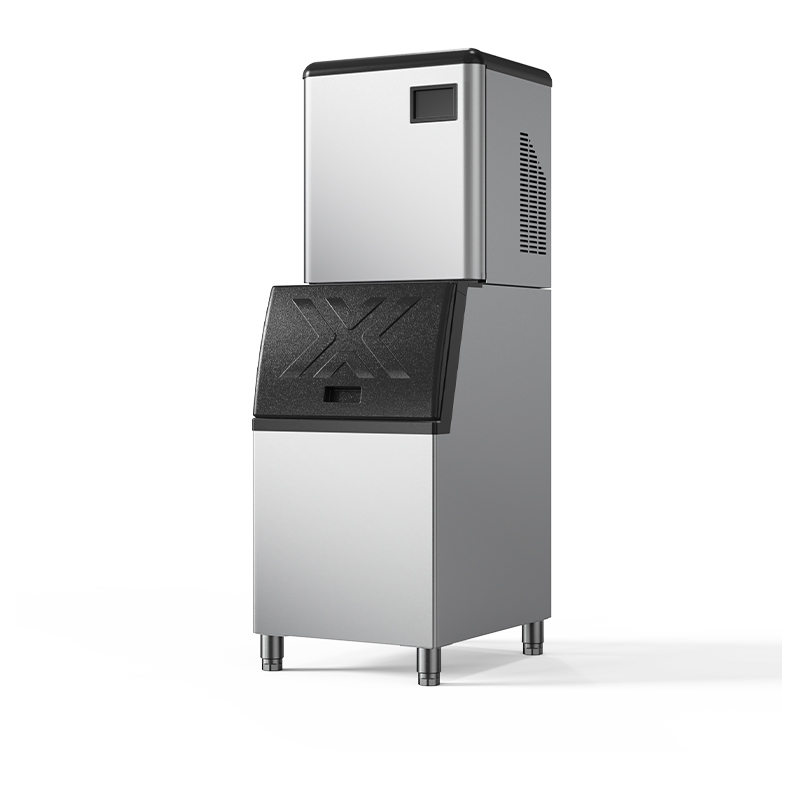
The SMK-182 FRO Stainless Steel Cube Ice Maker is a split-system square ice maker specifically engin...
+ VIEW MORE -
SMK-156 for High-Capacity Cube Ice Maker— A Commercial Flagship and Production Powerhouse
+ VIEW MORE -
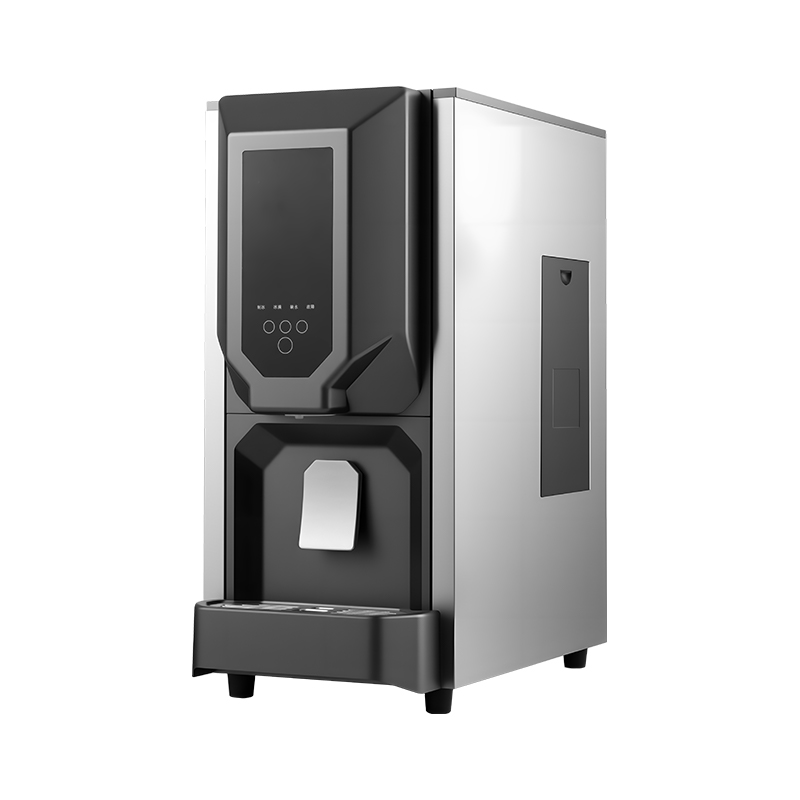
SMK-EA 50 FRO Dual-Core Indoor Nugget Ice Maker— The Barista's Ally, A Powerhouse of Efficiency
+ VIEW MORE


Product Categories
Cube Ice Maker Flake Ice Maker Extruded Pellet Ice Maker Split Type Cube Ice Maker Snowflake Ice MakerContact
 [email protected]
 + 86 - 18158466171 /+16188868178
 No. 6 Wei'er Road, Xigong District, Xinpu Town, Cixi City, Zhejiang Province, China
Copyright © Cixi City Sharmoon Electric Co., Ltd. All Rights Reserved
Custom commercial ice machine outdoor Manufacturer
OEM/ODM commercial ice machine company
